Best hummus recipe for your health and a healthy planet
How to make hummus with electric appliances: part of a low-carb(on) diet
Did you know that buildings represent about a third of greenhouse gas emissions?
One way to help meet our climate goals is to get our homes and other buildings running on clean electricity, not fossil methane “natural” gas, for appliances. It’s cheaper to build a new renewable (e.g. solar or wind) power plant than a coal plant to make electricity, too.
Induction stoves are better than gas stoves for several reasons, including being easier to clean, better for your health (NOx emissions are related to asthma!), and they boil water faster – in addition to climate benefits. I have two portable induction hobs from NuWave that I got on eBay, while I’m waiting for the induction cooktop/range models I want to arrive.
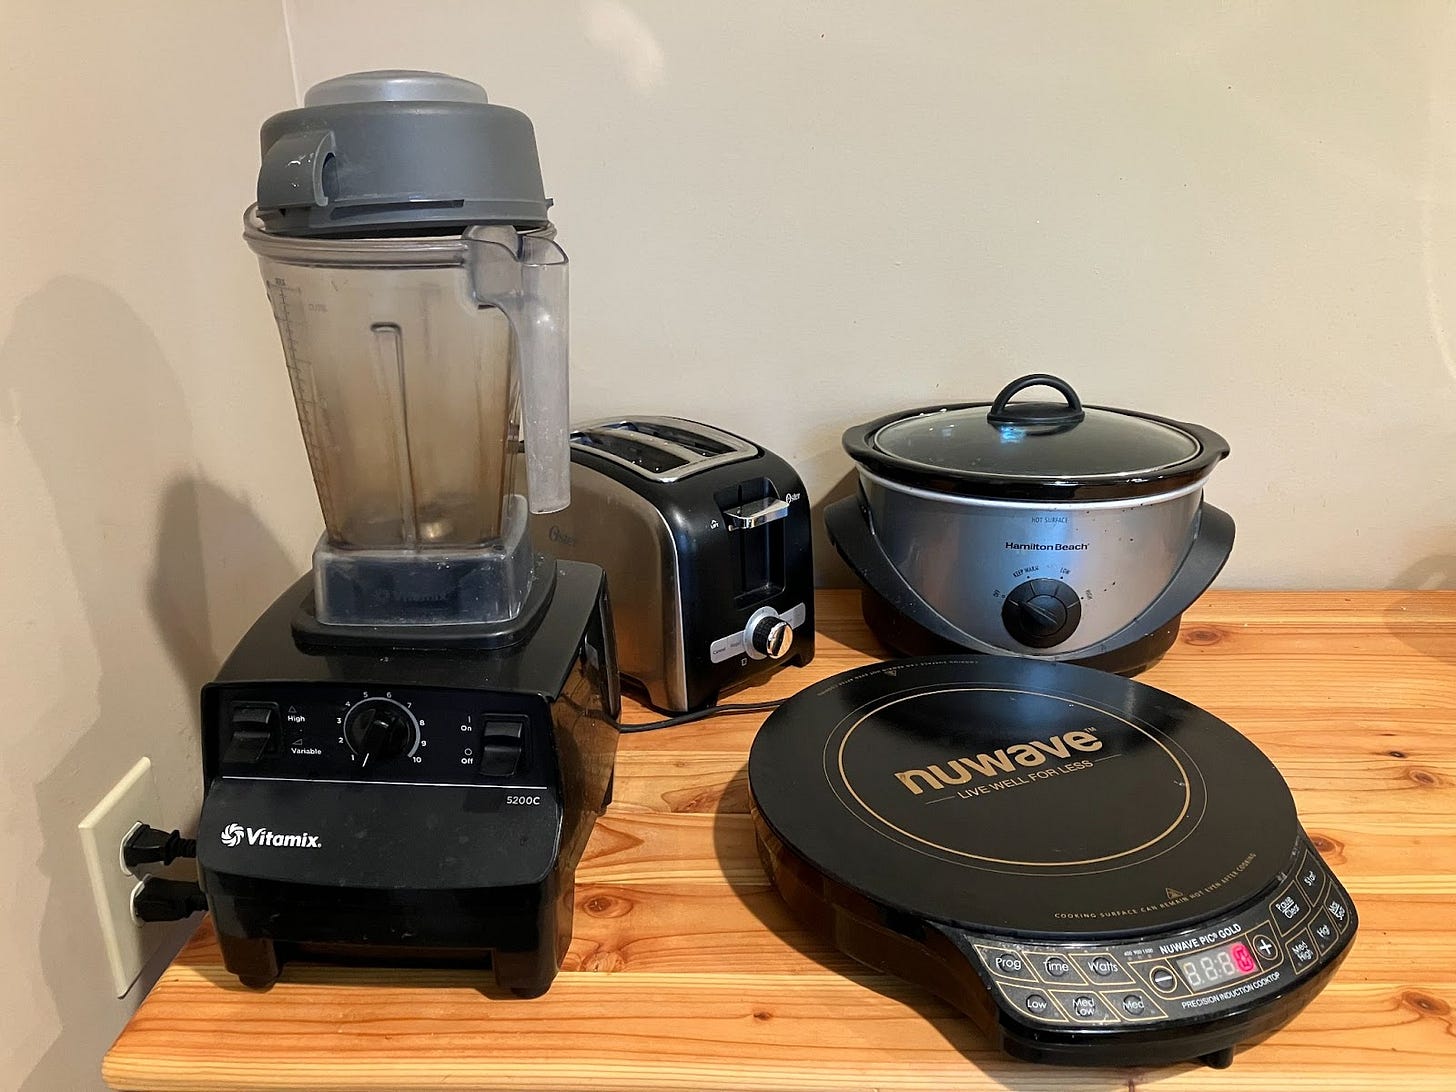
But, cooking on induction isn’t the only way to do climate-friendly cooking. Any electric appliance counts! That includes your electric teakettle, microwave, slow cooker, blender, Instant Pot, pressure cooker, toaster oven, and toaster. Which brings me to one of my favorite recipes that calls for several electric appliances… HUMMUS! It’s a culinary trifecta: healthy, tasty, and cheap to make at home. Here’s how I do it.

Electric Appliances
Electric teakettle
Why: because they boil water really fast, so your slow cooker can cook beans faster
Slow cooker
Why: to cook the beans without having to watch the stove. I don’t use a pressure cooker because when chickpeas get mushy, which you need for hummus, when the pressure valve releases, it can clog the vent.
Heavy-duty blender such as a Vitamix, or a very strong food processor
Why: Hummus is thick, so the stronger your blender, the smoother the hummus will be. I tried making hummus in a low quality blender and it did not turn out well.
If you don’t have these appliances, start with your local Buy Nothing group to see if a neighbor is letting go of one for free! The fewer things you have to buy, the better it is for your wallet AND for the planet. Thrift stores and garage sales are also good places to shop. If you prefer online shopping, eBay also has a good selection of used appliances, too.
Ingredients
3/4 cup dried chickpeas/garbanzo beans (to soak overnight), or one 15-ounce can
Note: you can also use cannellini beans, but I prefer the taste of chickpeas
½ teaspoon baking soda
2 small or 1 large lemon – for ¼ cup lemon juice
1 clove garlic, roughly chopped (can be 2 cloves if you want it more garlicky)
Salt to taste (¼ to ½ teaspoon)
A few tablespoons of water
½ cup tahini (try to buy the kind that comes in a glass jar; very little plastic is actually recycled, so avoid plastic containers where possible. As a bonus, you can use the glass jar after it’s empty as a drinking glass!)
½ teaspoon ground cumin
1 tablespoon olive oil
Optional garnishes: ground paprika, ground cumin, olive oil
Dipping items: hummus pairs well with baby carrots, sliced bell pepper, celery, cucumber, and/or tortilla chips
Hummus Recipe
This recipe is adapted from Cookie and Kate; I think they are wrong about needing ice water, so this is my take on it. I also prefer soaking beans overnight because dried beans are cheaper, and I don’t mind a little advance planning. This makes about 2 cups of hummus.
Soak the dried chickpeas overnight with the baking soda.
For ¾ cup of chickpeas, put them in a 2 cup container and fill the container (such as a 2 cup Pyrex) with water.
Baking soda changes the pH which helps make the beans nice and mushy when they cook.
Soak the chickpeas for a minimum of 8 hours. If you have canned chickpeas, you can use a can instead of soaking, but don’t skip the cooking part!Using the electric teakettle, boil some water. How much? Enough water to have an inch of water on top of the chickpeas when they are in the slow cooker.
Cook the soaked chickpeas in the slow cooker.
Rinse the soaked chickpeas, then put them in with the boiled water. I usually do this when using dried chickpeas for about 4 hours, until the chickpeas are super mushy. Mushy chickpeas mean smooth hummus!
Check for over-done-ness if you are using canned chickpeas (about 1-2 hours instead of 4).
If you’re in California, for example, and you do this around 10 am to 2 pm, you can use more solar energy to cook even if you are a renter! (California’s electric grid has lots of solar power during the middle of the day – so time-shifting when you cook to midday, rather than dinnertime, can help with a “low carbon diet.”)
Drain / remove the chickpeas from the slow cooker and set them aside.Chop the garlic and squeeze the lemons.
Fresh lemons are best – store bought lemon juice just isn’t the same.
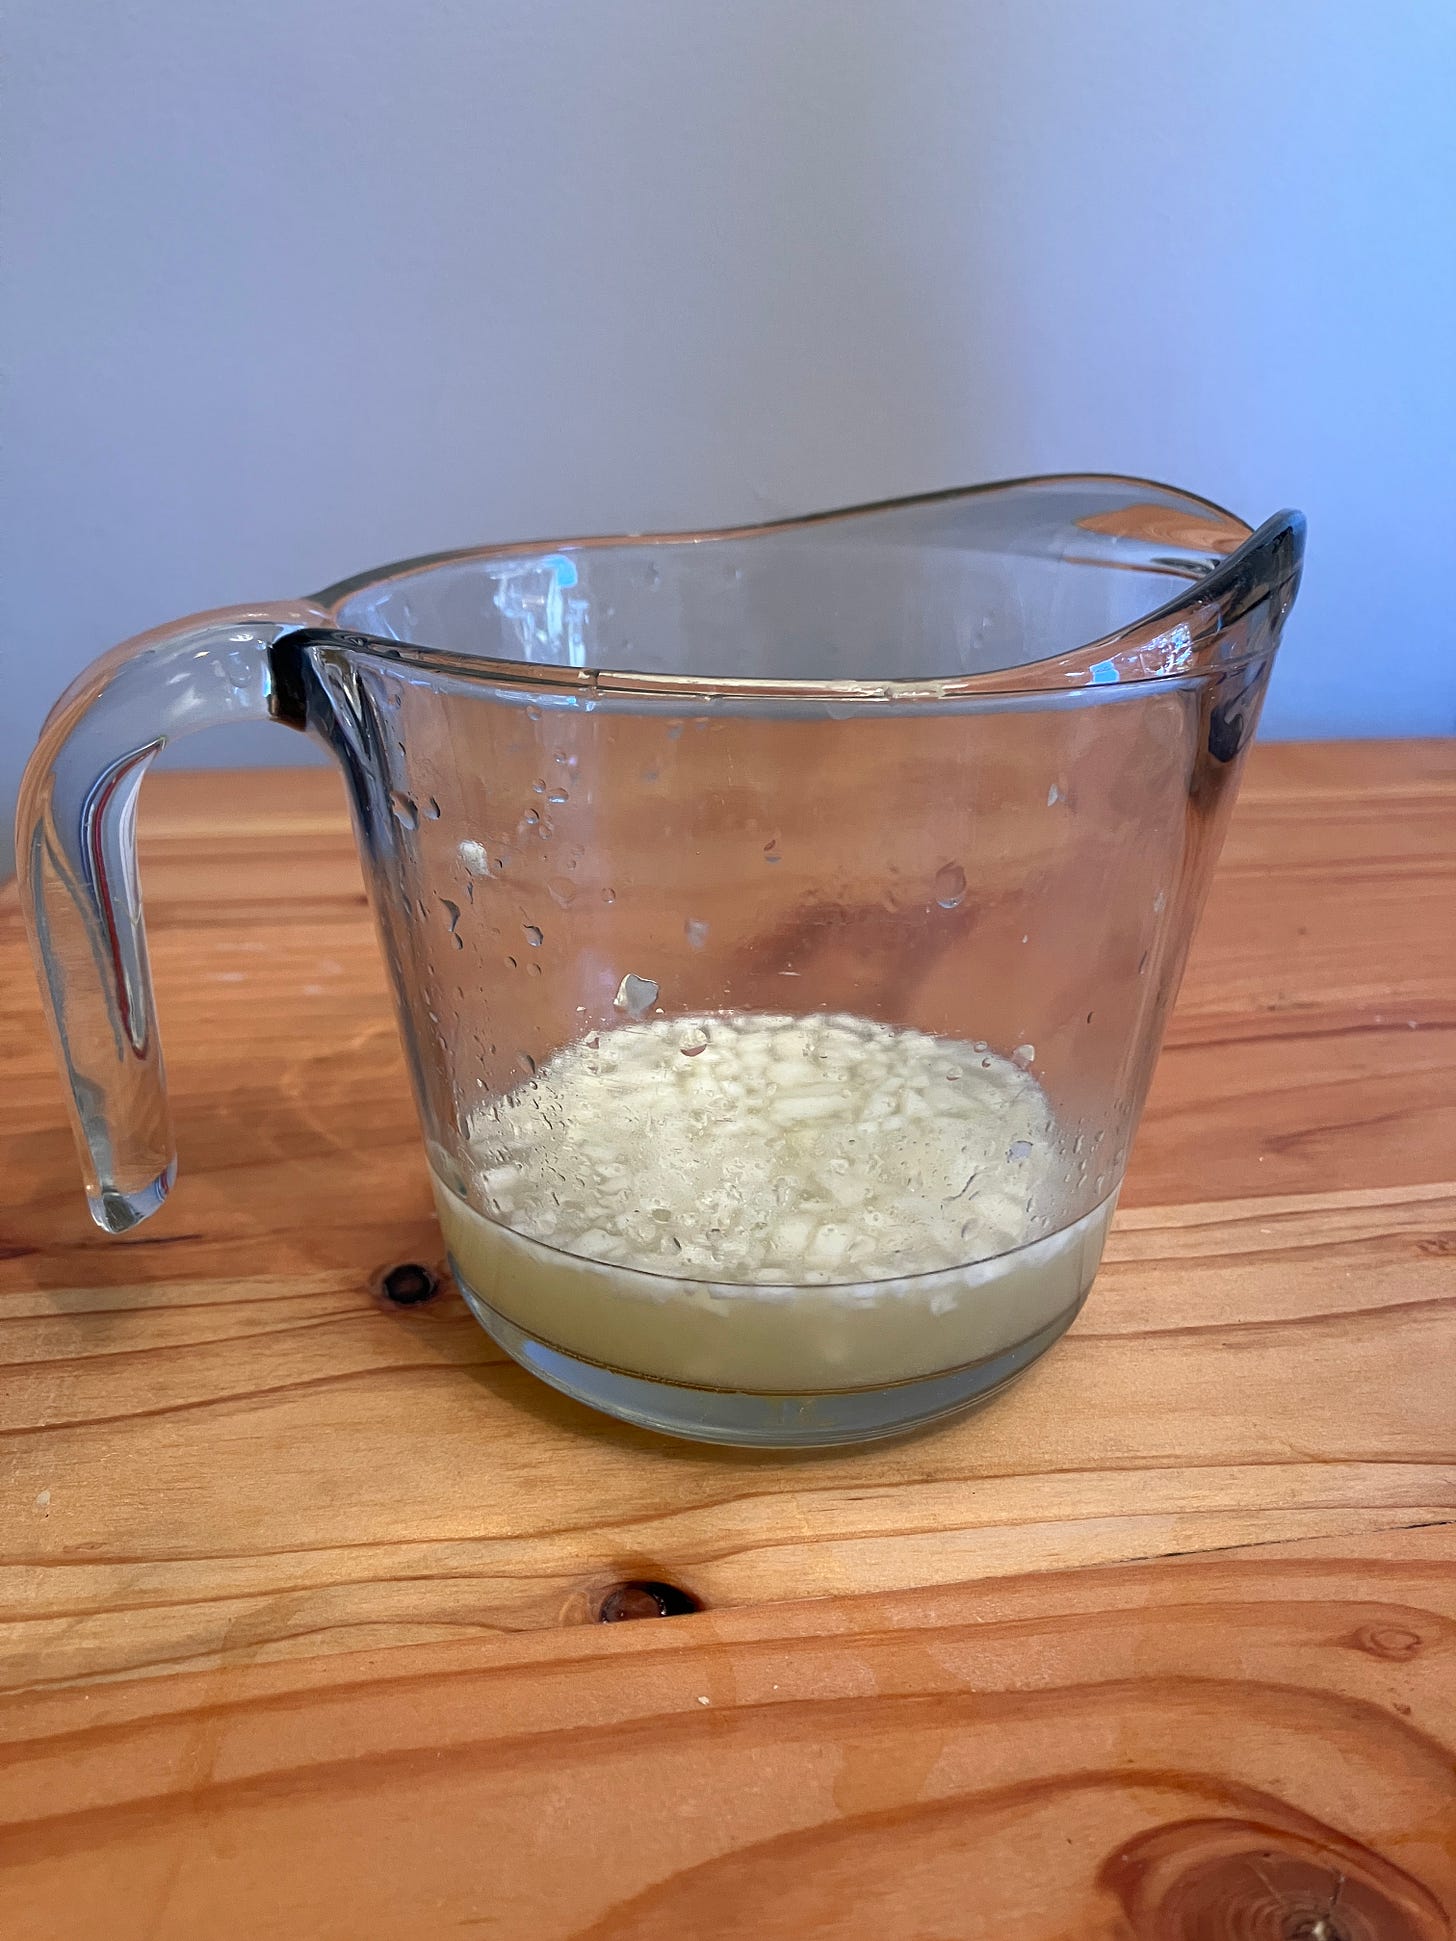
Ideally, let the garlic sit in a bowl of lemon juice for 10-15 min to mellow the flavor; if you don’t have time for that, it’s fine. Don’t let it sit in your blender for 15 minutes, though – you don’t want to dull the blender blades.Blend the garlic and lemon juice.
If the lemon juice doesn’t quite cover the blades of the blender, add some water until it does, so you get things to blend.Add the tahini.
Tahini is pretty viscous, so you may need to use a spatula to poke things around (when the blender is off!) to get it to blend well.Add the cumin, salt, and olive oil.
Blend. Stop as needed to scrape the sides down with a spatula.Add the mushy, overcooked chickpeas.
Just a reminder that mushy chickpeas make better hummus! If they are cooked to a “regular” level of done-ness, the hummus will be slightly chunky. Blend until smooth.Taste and add more salt / lemon juice / cumin if needed.
Scoop it out with a spatula into a container and add optional toppings like extra olive oil, paprika, or cumin, and serve.
Keeps in the fridge for about a week (covered).


